Seedance 2 Pro Test Workflow: Turn One Prompt Into a Reviewable Short Clip
Use this practical Seedance 2 Pro test workflow to define a shot, evaluate motion and continuity, revise one variable at a time, and keep useful notes for the next render.
Seedance 2 Pro Test Workflow: Turn One Prompt Into a Reviewable Short Clip
The quickest way to waste an AI-video session is to change the subject, the motion, the camera, the style, and the duration all at once. When a result misses, you have no useful clue about why.
This Seedance 2 Pro test workflow keeps the first generation deliberately small. You define one shot, review it against a short checklist, then revise one variable at a time. The result is a repeatable process for testing ideas before you spend more time on a longer or more complex sequence.
What a Useful Seedance 2 Pro Test Should Answer
A good first test does not need to prove that a prompt is perfect. It needs to answer four practical questions:
- Is the main subject recognizable from the opening frame to the final frame?
- Is the requested action easy to understand?
- Does the camera instruction support that action?
- Can you make a focused revision without losing the original idea?
These questions work for product scenes, character concepts, social clips, and early storyboards. They also keep the review focused on what a viewer will actually notice.
Build the Prompt Around One Shot
For the first pass, use one subject, one action, one setting, and one camera move. Here is a compact example:
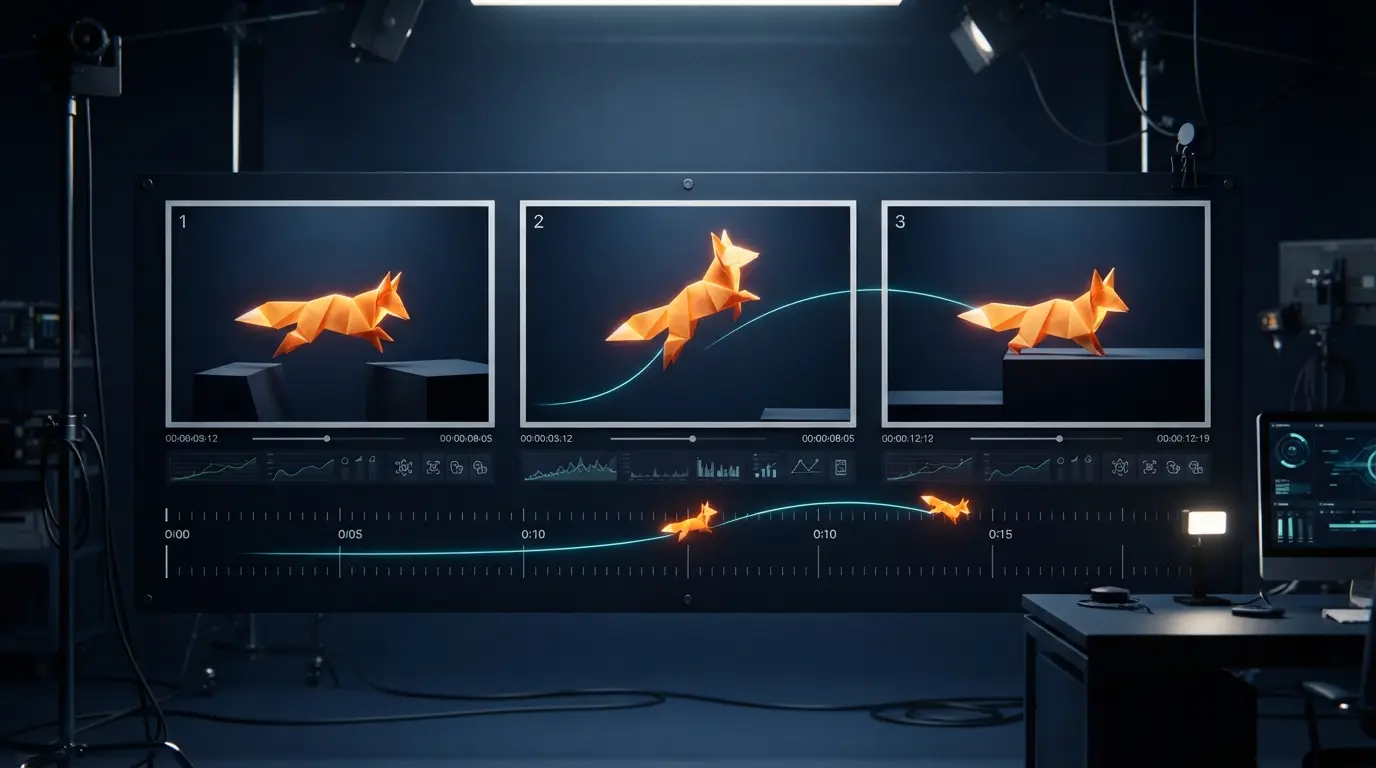
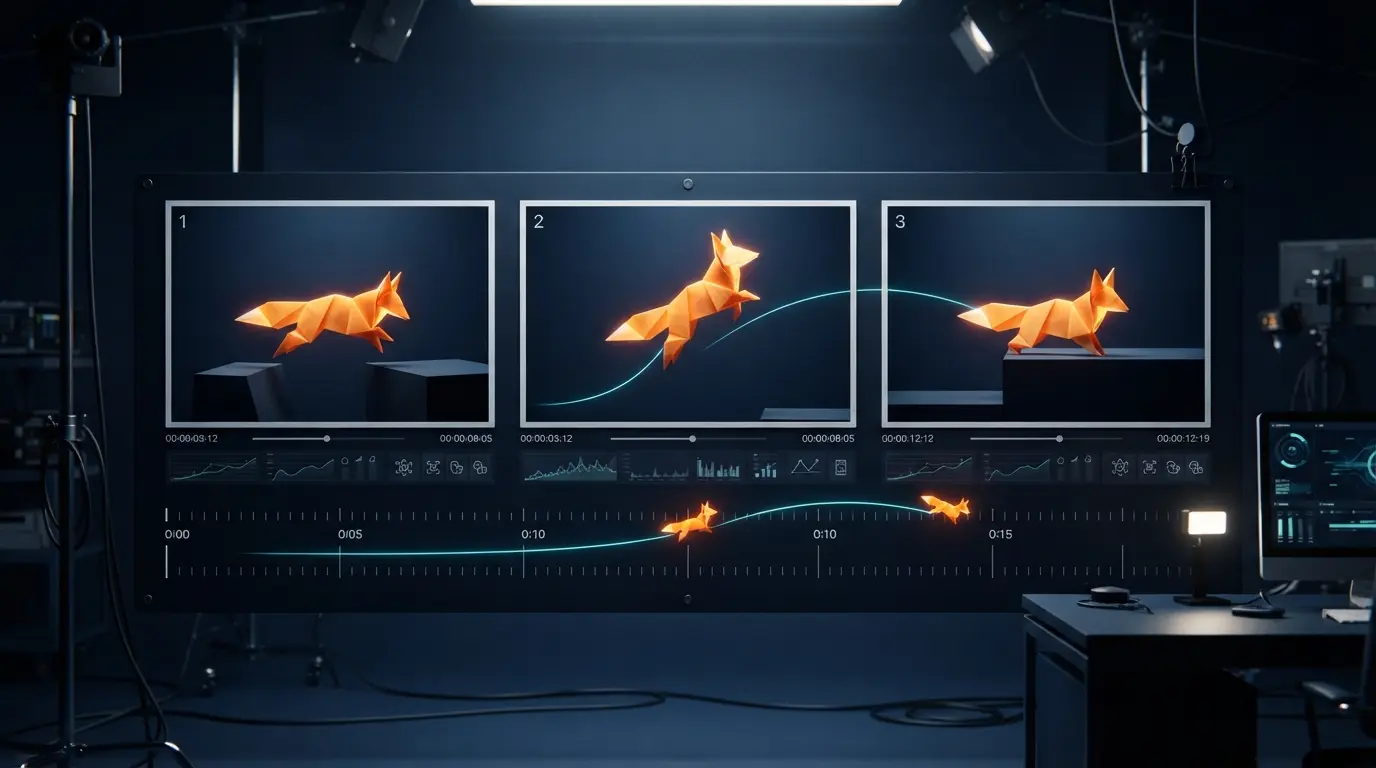
An orange origami fox walks across a dark blue studio floor. A thin cyan light trail follows its movement. The camera tracks slowly from left to right. Keep the fox centered and preserve its folded-paper shape.
The prompt gives the model a clear job. It does not ask for a scene transition, a second character, a dramatic weather change, and a close-up all in the same few seconds.
Use this structure when writing your own version:
- Subject: what must remain recognizable.
- Action: the single movement the audience should notice.
- Setting: the surfaces, light, and context around the subject.
- Camera: one simple movement, or a locked camera.
- Constraint: the one detail that must remain stable.
Run the Three-Pass Review
Pass 1: Establish a baseline
Generate the plain version first. Watch the clip without pausing and ask whether the subject, action, and camera move all read clearly. If the answer is no, do not add style language yet. Record the first thing that breaks.
Pass 2: Change one variable
Fix only the first visible failure. If the subject drifts, reinforce its position and shape. If the action feels confusing, reduce it to one motion. If the camera becomes distracting, switch to a locked shot before trying a more complex move.
This one-variable rule matters. When five changes go into a second prompt, a better output teaches you almost nothing about which change helped.
Pass 3: Add creative direction
Once the shot is understandable, add the creative layer: lighting mood, color palette, lens feel, atmosphere, or a controlled transition. Style should improve a stable shot, not conceal an unstable one.
Use a Small Review Log
You do not need a large spreadsheet. A short note for each generation is enough:
| Check | What to record |
|---|---|
| Subject continuity | Stable, drifting, or changing shape |
| Action clarity | Clear, weak, or contradictory |
| Camera control | Followed, partly followed, or ignored |
| Background stability | Stable, flickering, or morphing |
| Next revision | The single variable to change |
This log gives your next prompt a purpose. It also makes it easier to compare two attempts fairly instead of relying on a vague impression.
Common Problems and Simple Fixes
The subject changes too much
Describe the subject with a stable visual anchor: material, silhouette, color, and position. Avoid introducing a new action until that anchor is holding.
The motion is busy
Choose the movement that matters most. A short clip rarely needs a pan, a zoom, a character turn, particles, and a scene change at the same time.
The camera instruction competes with the action
Use a locked camera while testing the action. When the action reads correctly, add one tracking or dolly instruction and compare the result.
The revision no longer matches the original concept
Return to the baseline prompt and change only the line connected to the failure. Keeping the initial prompt intact makes it possible to recover quickly.
When to Move Beyond the Test
Move to a longer or more detailed render only after the baseline passes three checks: the subject remains recognizable, the main action is clear, and the camera helps rather than distracts. At that point, reference images, richer art direction, and more ambitious motion have a much stronger foundation.
FAQ
How long should a first Seedance 2 Pro test be?
Keep the first test as short as the idea allows. The aim is to validate the shot direction, not to finish a full sequence.
Should I add every visual detail to the first prompt?
No. Start with the elements needed to judge continuity, motion, and framing. Add decorative detail after the core shot works.
What is the best way to improve a weak result?
Identify the first visible failure and revise only the instruction connected to it. This makes each attempt informative.
Final Takeaway
The useful Seedance 2 Pro habit is simple: test one shot, review it clearly, and revise one thing at a time. That small discipline turns random iterations into a workflow you can reuse across product clips, character scenes, and larger video ideas.
Ready to try the process? Open the Seedance2Pro generator, begin with one clear shot, and save the prompt that gives you the strongest baseline.
More Posts
Seedance 2.0 vs Sora 2: Which AI Video Model Should You Use in 2026?
Seedance 2.0 vs Sora 2 compared head to head: motion realism, native audio, pricing transparency, commercial rights, and which model fits your workflow in 2026.

How to Use Dreamina Seedance 2.0 to Convert a Video into a Cartoon (Step by Step)
Two working paths to turn a filmed video into a cartoon with Seedance 2.0: the Dreamina route and the Seedance 2 Pro generator route. Step-by-step prompts, credit costs, and fixes for flicker and morphing.
How to Generate Epic Anime Fights in Seedance 2.0 (Step by Step)
Learn how to generate epic anime fights in Seedance 2.0: style setup, fight choreography prompts, settings, character consistency, multi-shot chains, and native audio — with 5 ready-to-use prompts.
Newsletter
Join the community
Subscribe to our newsletter for the latest news and updates